Like many children growing up in the 80’s/90’s, G.I. Joes were a staple in my toy box. For me, they held the number one spot on my wish list for every Christmas and Birthday until the Teenage Mutant Ninja Turtles took over. To say that early G.I. Joes were actual soldiers is an understatement. We didn’t just buy them and put them on a shelf. We got them, ripped them open and commenced to engage in actual warfare with them. I remember casualties on both sides due to Black Cats and bottle rockets because negotiations weren’t met. One rainy day I thought it was a good idea to play “The Guardian”. That didn’t end well as I lost three good figures that day. Bottom line, toys back in the day actually got played with. Thats why when you find one still in the box its worth a fortune. Today’s kids and parents already have the mindset, buy one for me and one to keep and sell for their college. Sad thing is, its not going to work out that way.
Since most of the figures from the early days are used and abused there is actually a big business in refurbishing them to their glory days. We all know that refurbished isn’t the same as original. But we also know its better than “loose” or “used”. Once of the most common things to break and also easiest to fix is the O-ring in the waist.
So in this episode of G.I. Joe M.A.S.H. we are going to tackle the basics, what to do with a busted O-ring. In case you never watched the show, M.A.S.H. stands for Mobile Army Surgical Hospital. Get it?
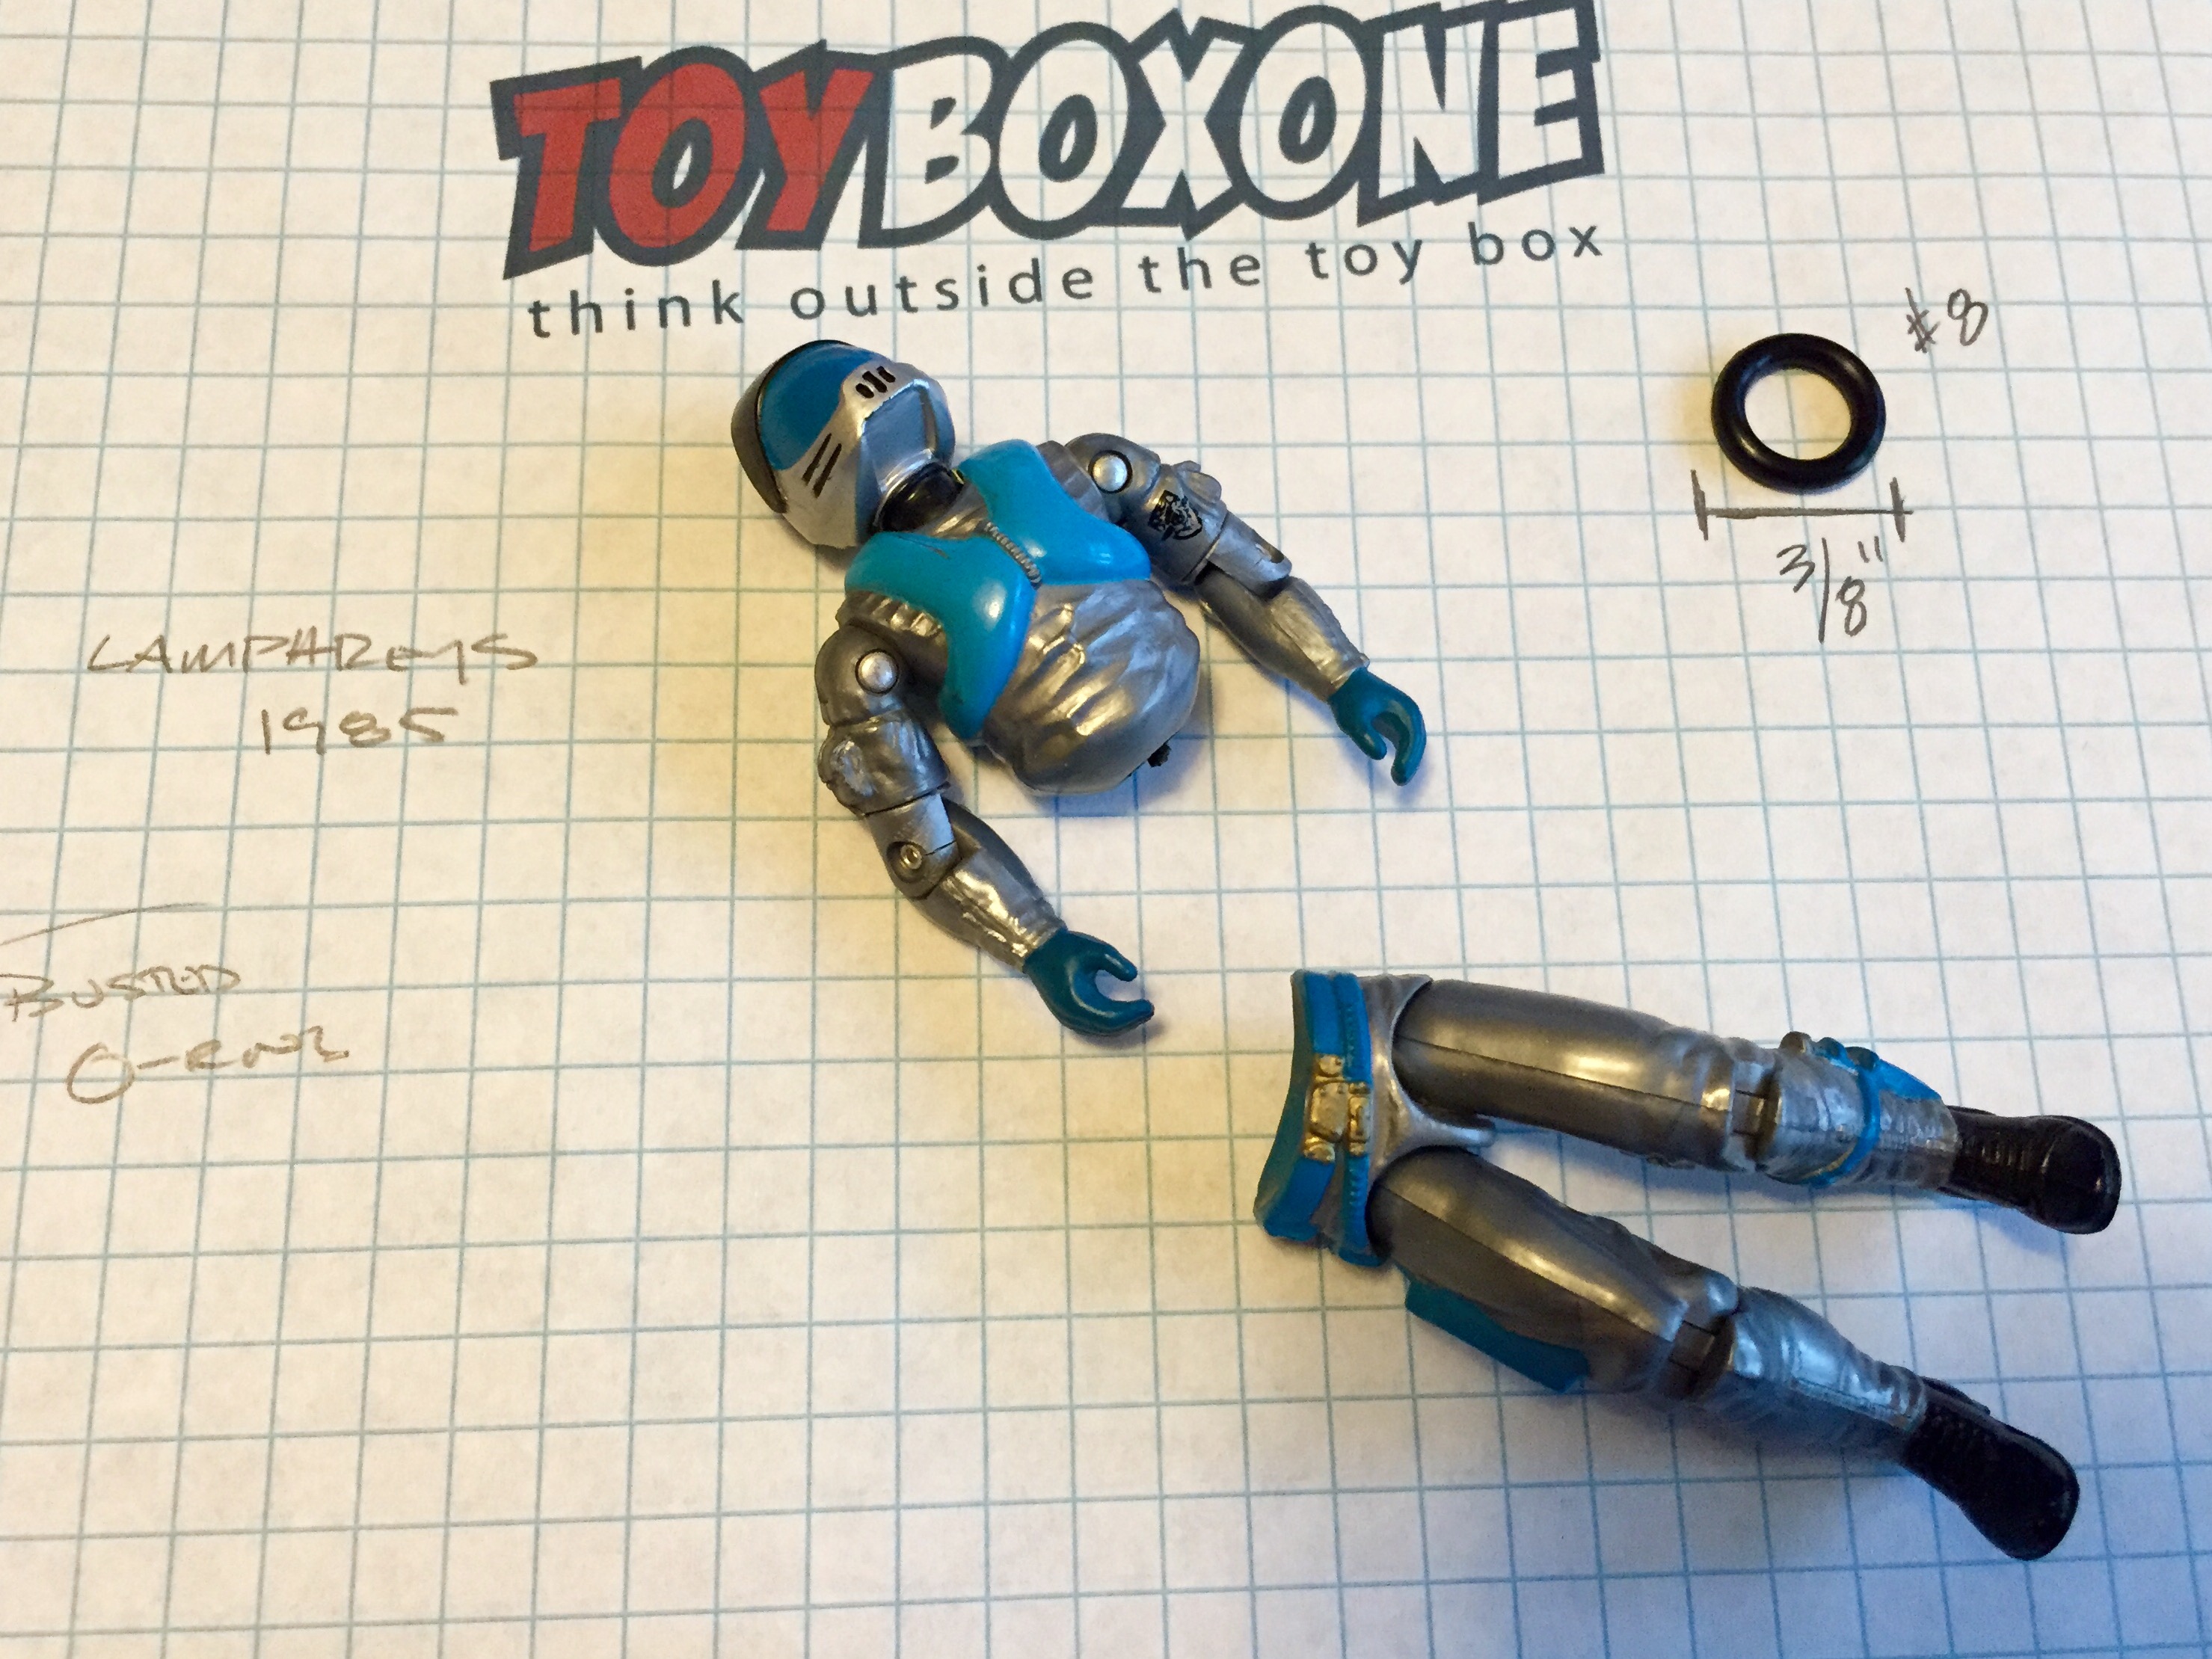
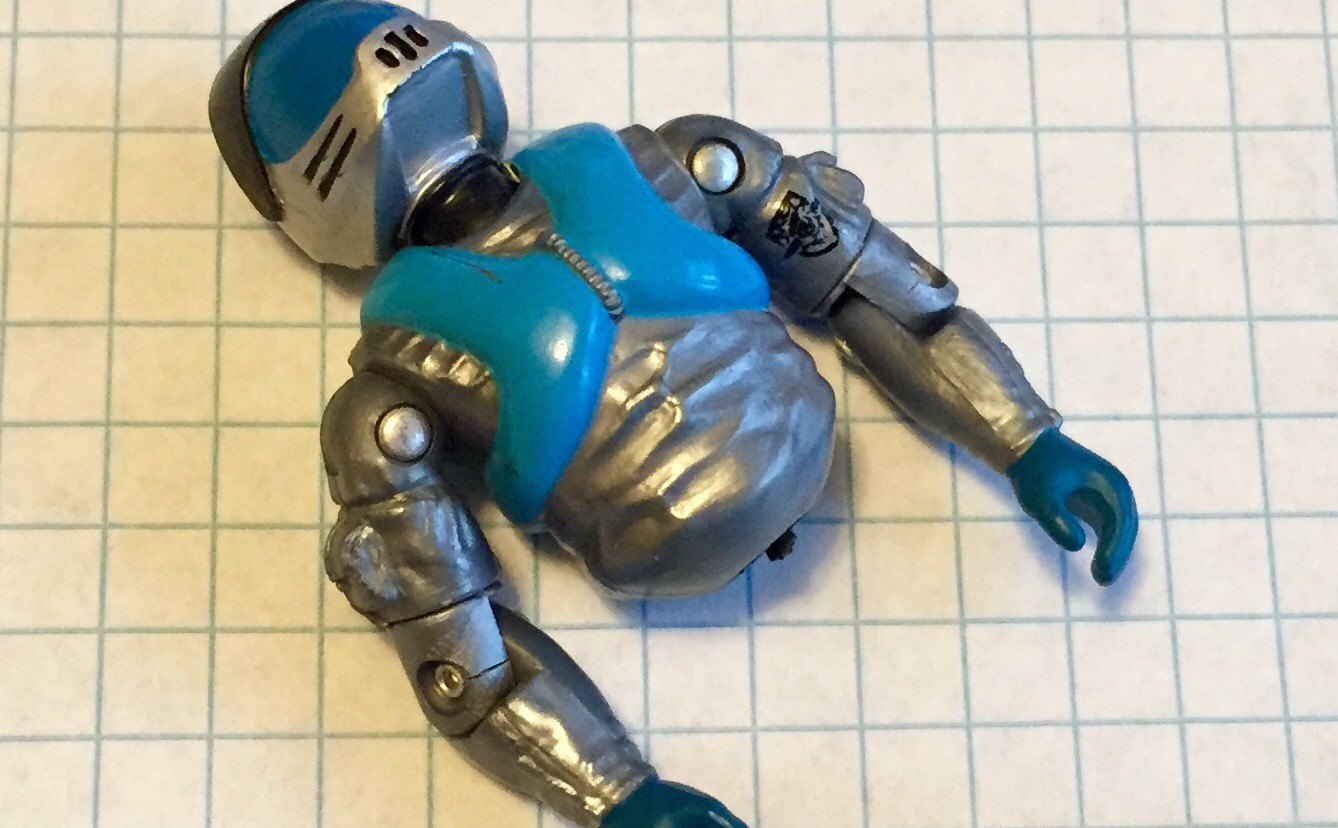
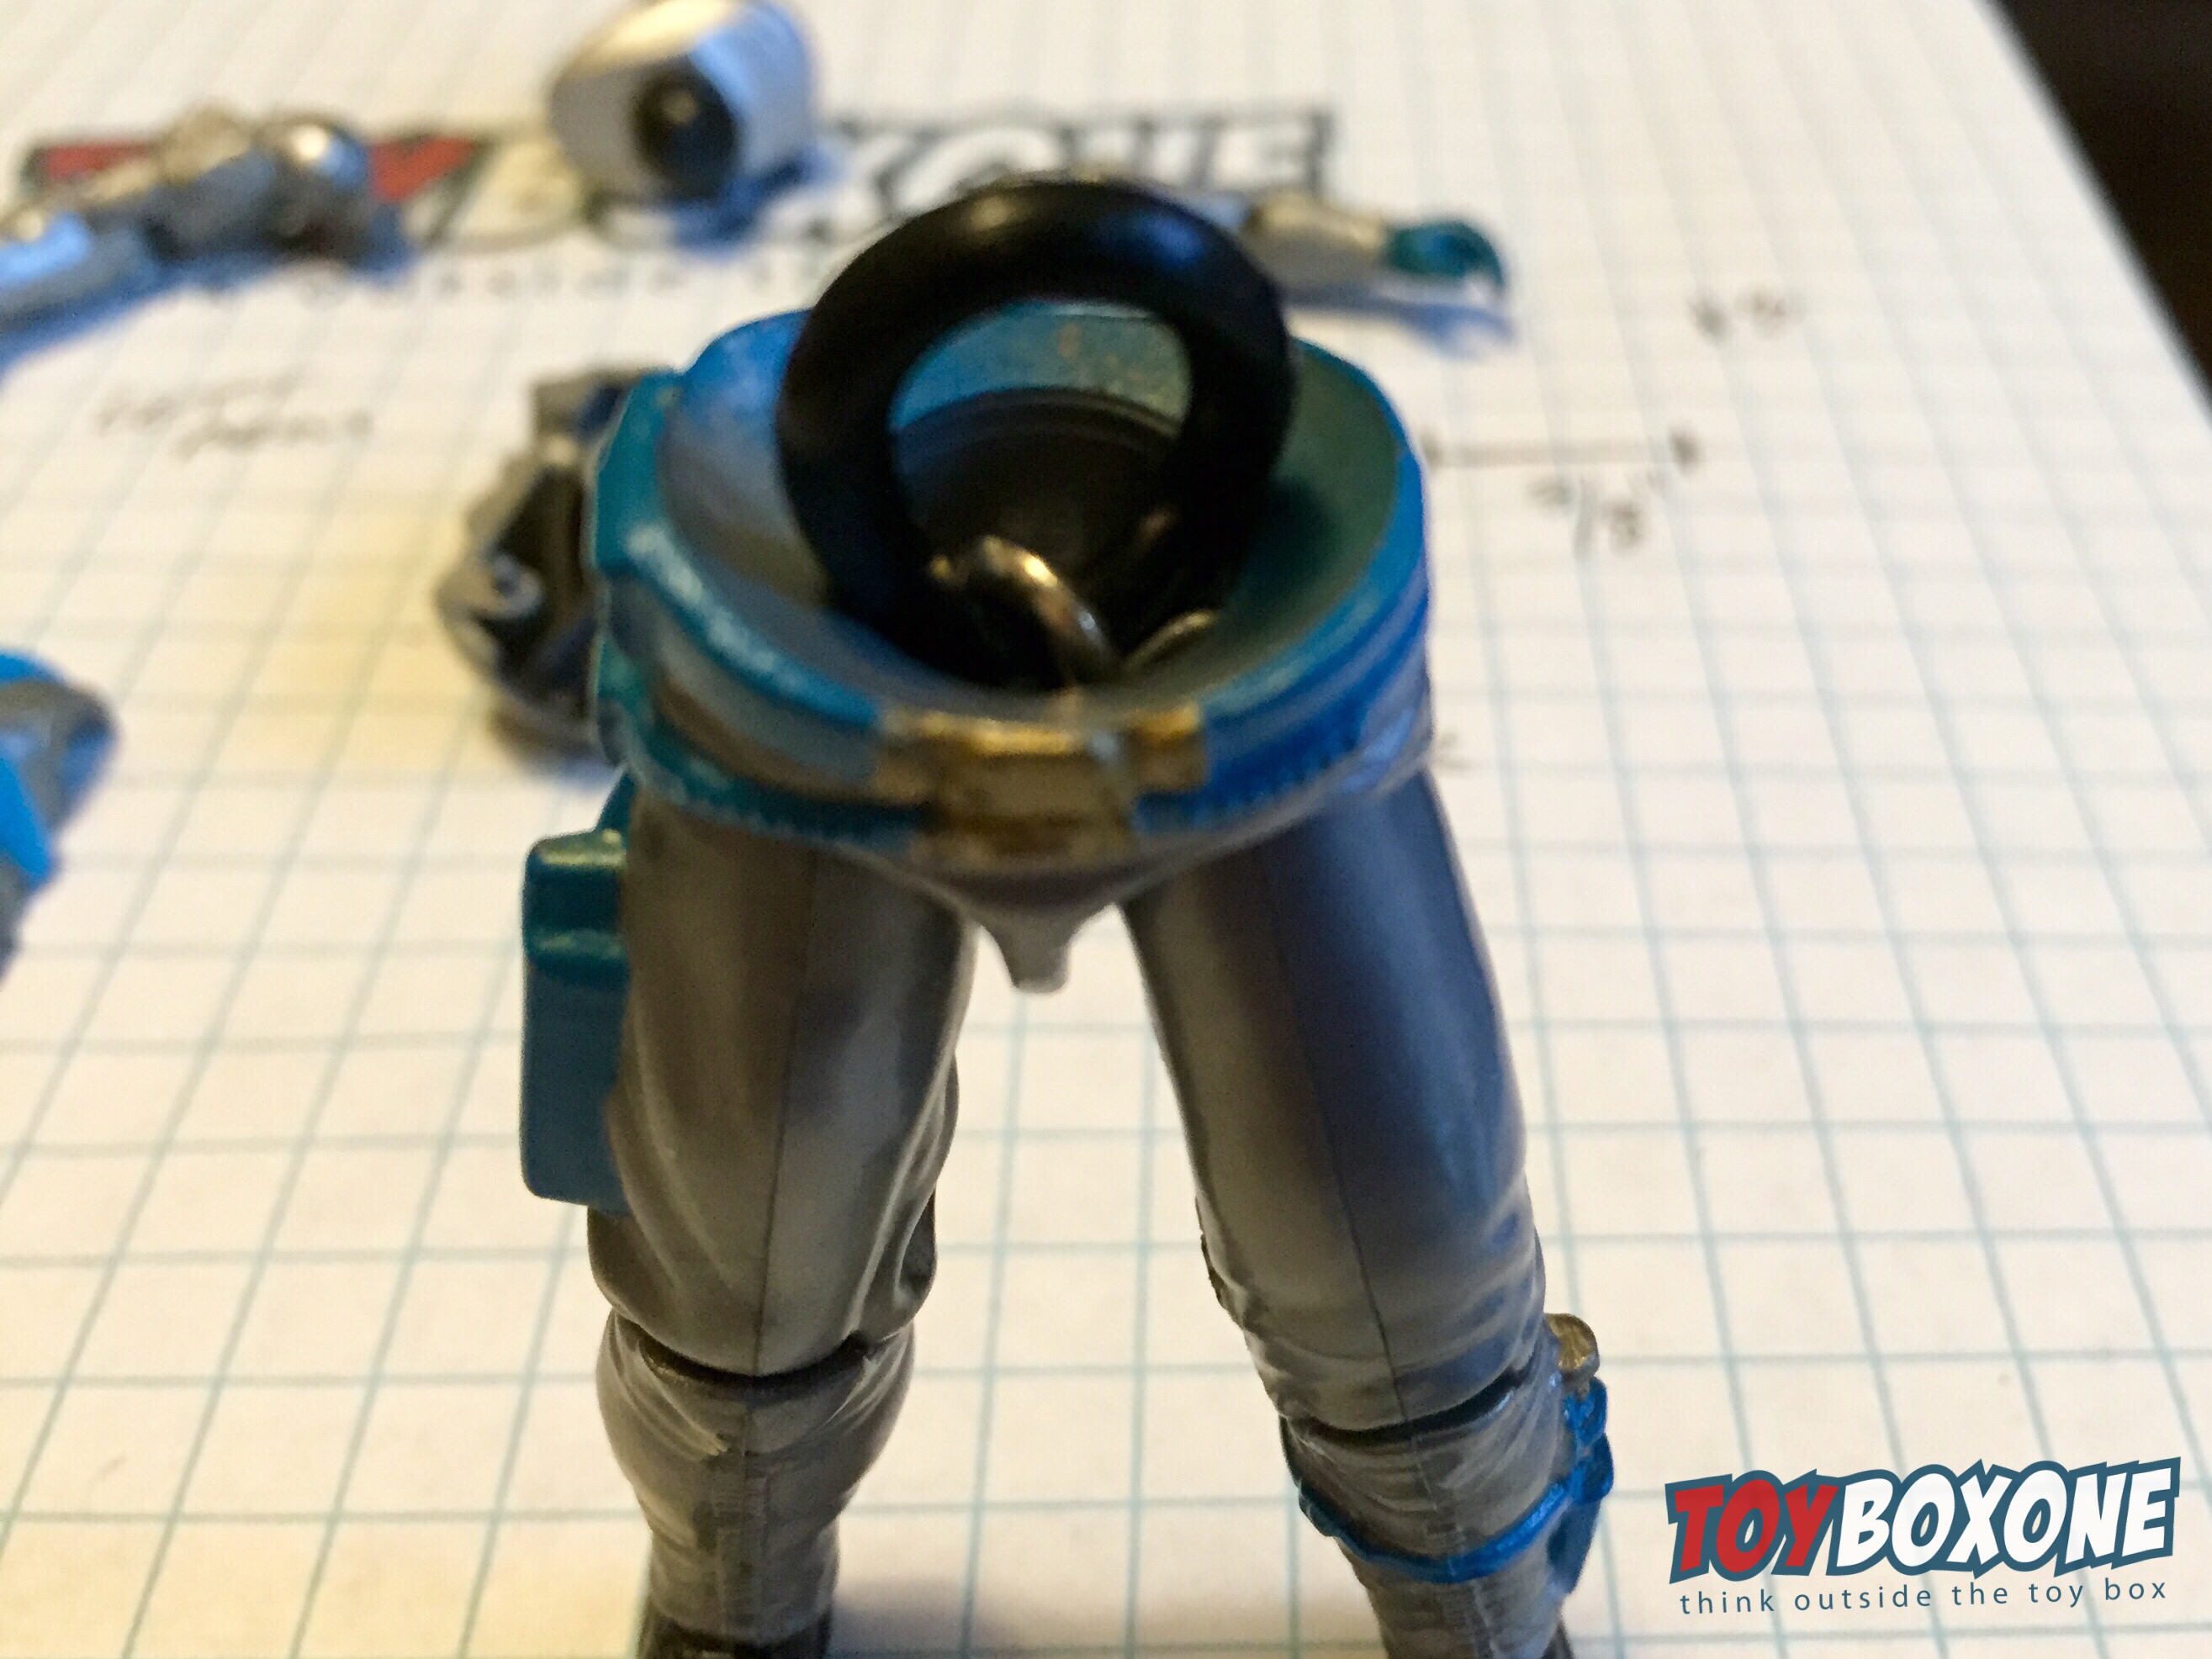
Here we see out combatant, Lamphreys severed in half by Snake-Eyes. Not to worry as this is an easy fix with a quick trip to the hardware store. Now, word on the street is you should use #8 o-rings for figures from 1982-1984 and #9 for 1985-1994. I used a 3/8″ o-ring for this guy, which is a 1984 model and he is a little tight. My next experiment I want to try R134 Automotive O rings. They are made of better material (Hydrogenated Nitrile Butadiene Rubber) than the black rubber ones that will dry out just like the original G.I. Joe ones.
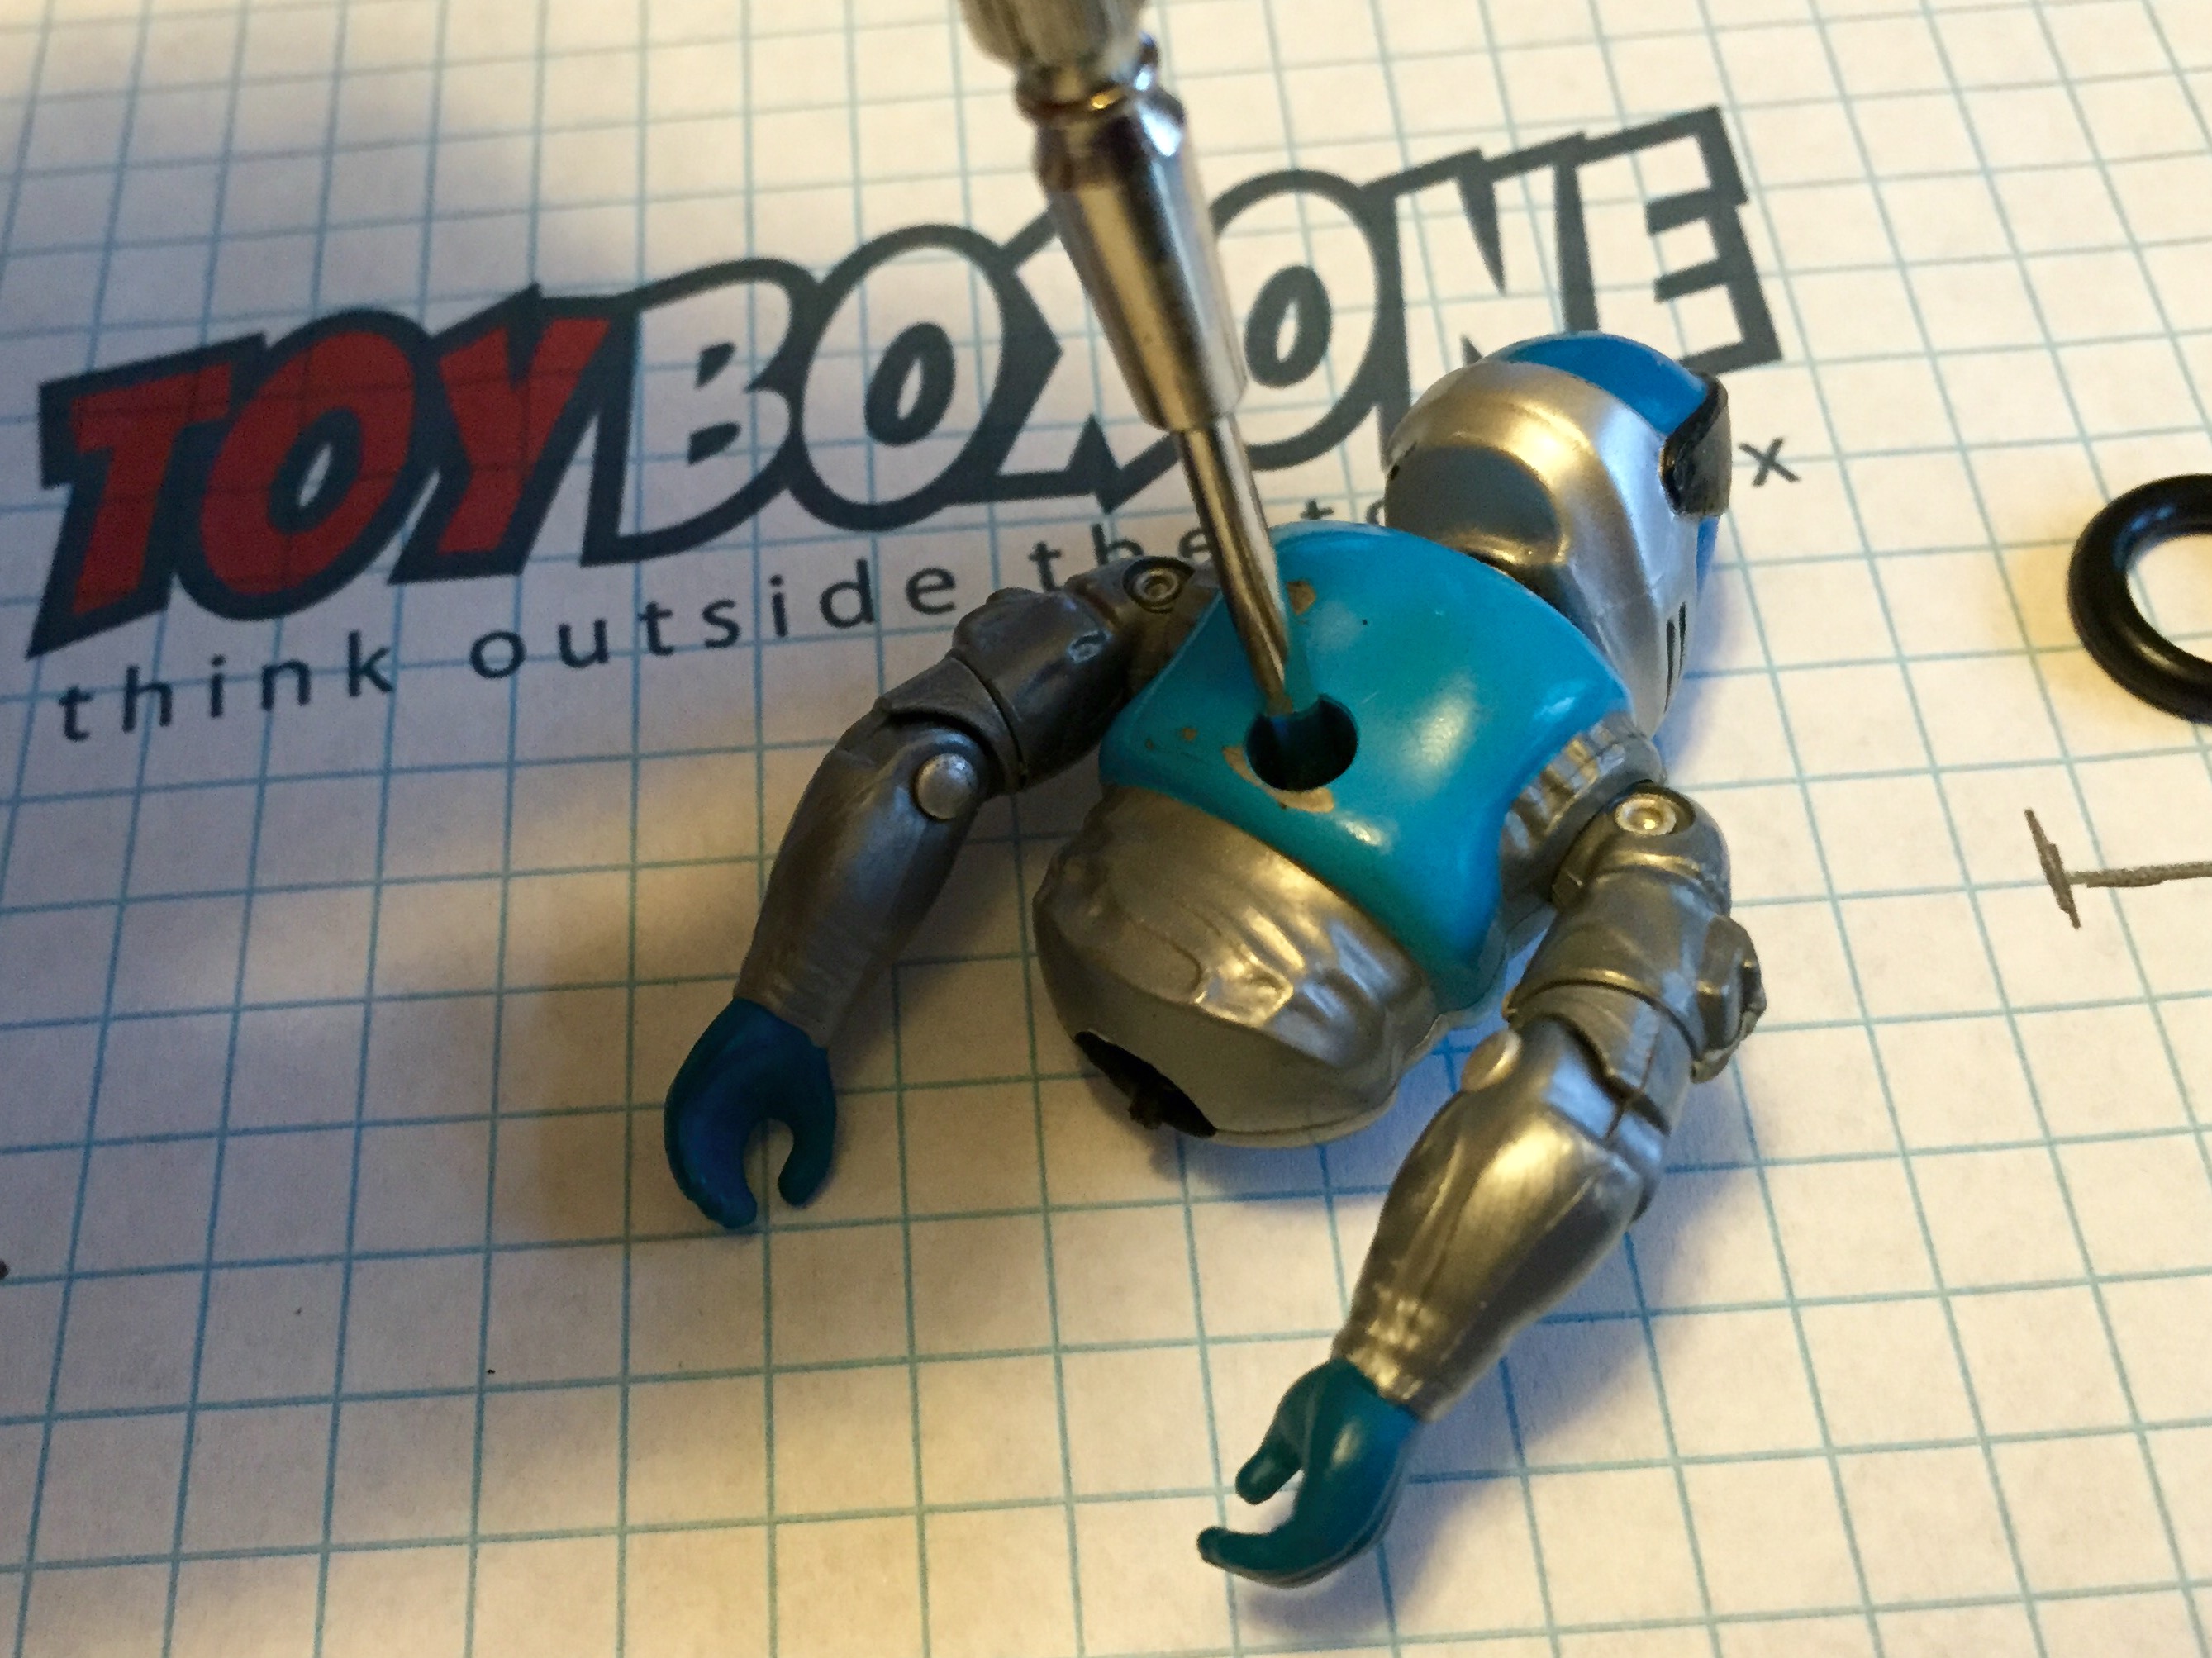
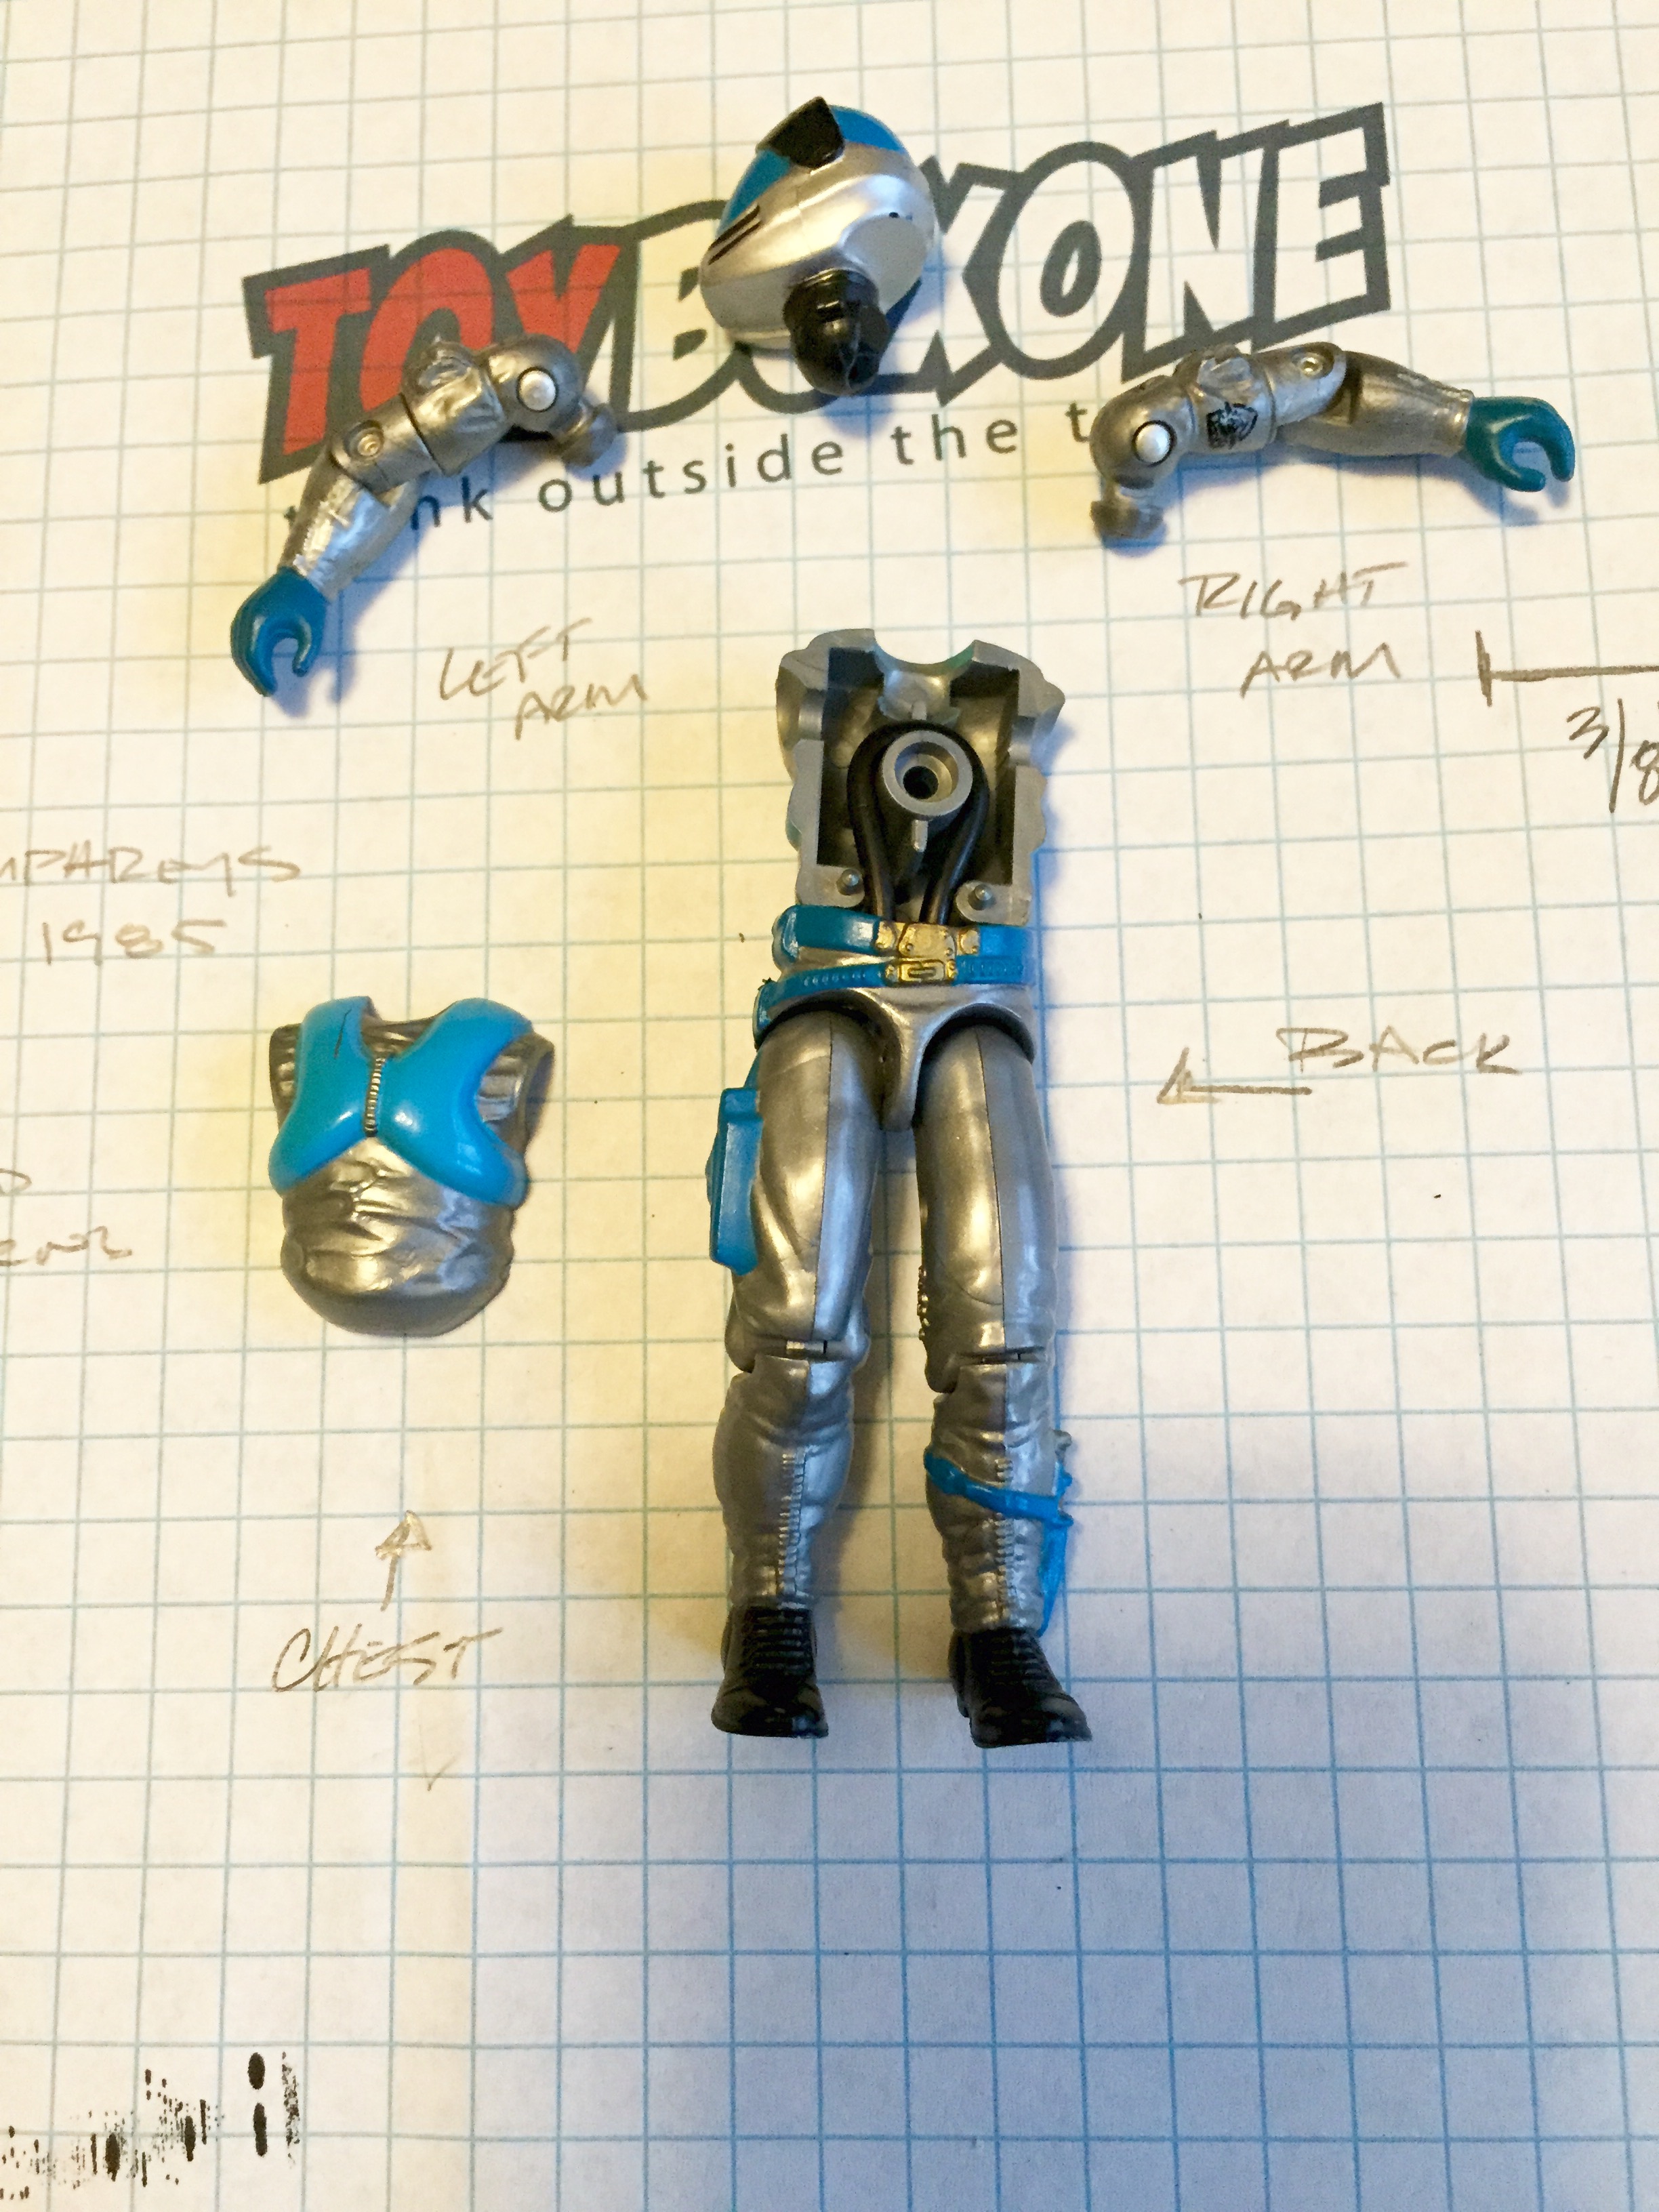
Next, you’ll have to stab them in the back Game of Thrones style and unscrew his torso. It is essential to make sure they are heavily medicated with bourbon before this step. Once the screw is removed (1/16th I think), carefully pry the pieces apart. Some figures are not screwed together and held together only by glue. In this case, you’re screwed. If there is any pieces of the old o-ring left of course remove it.
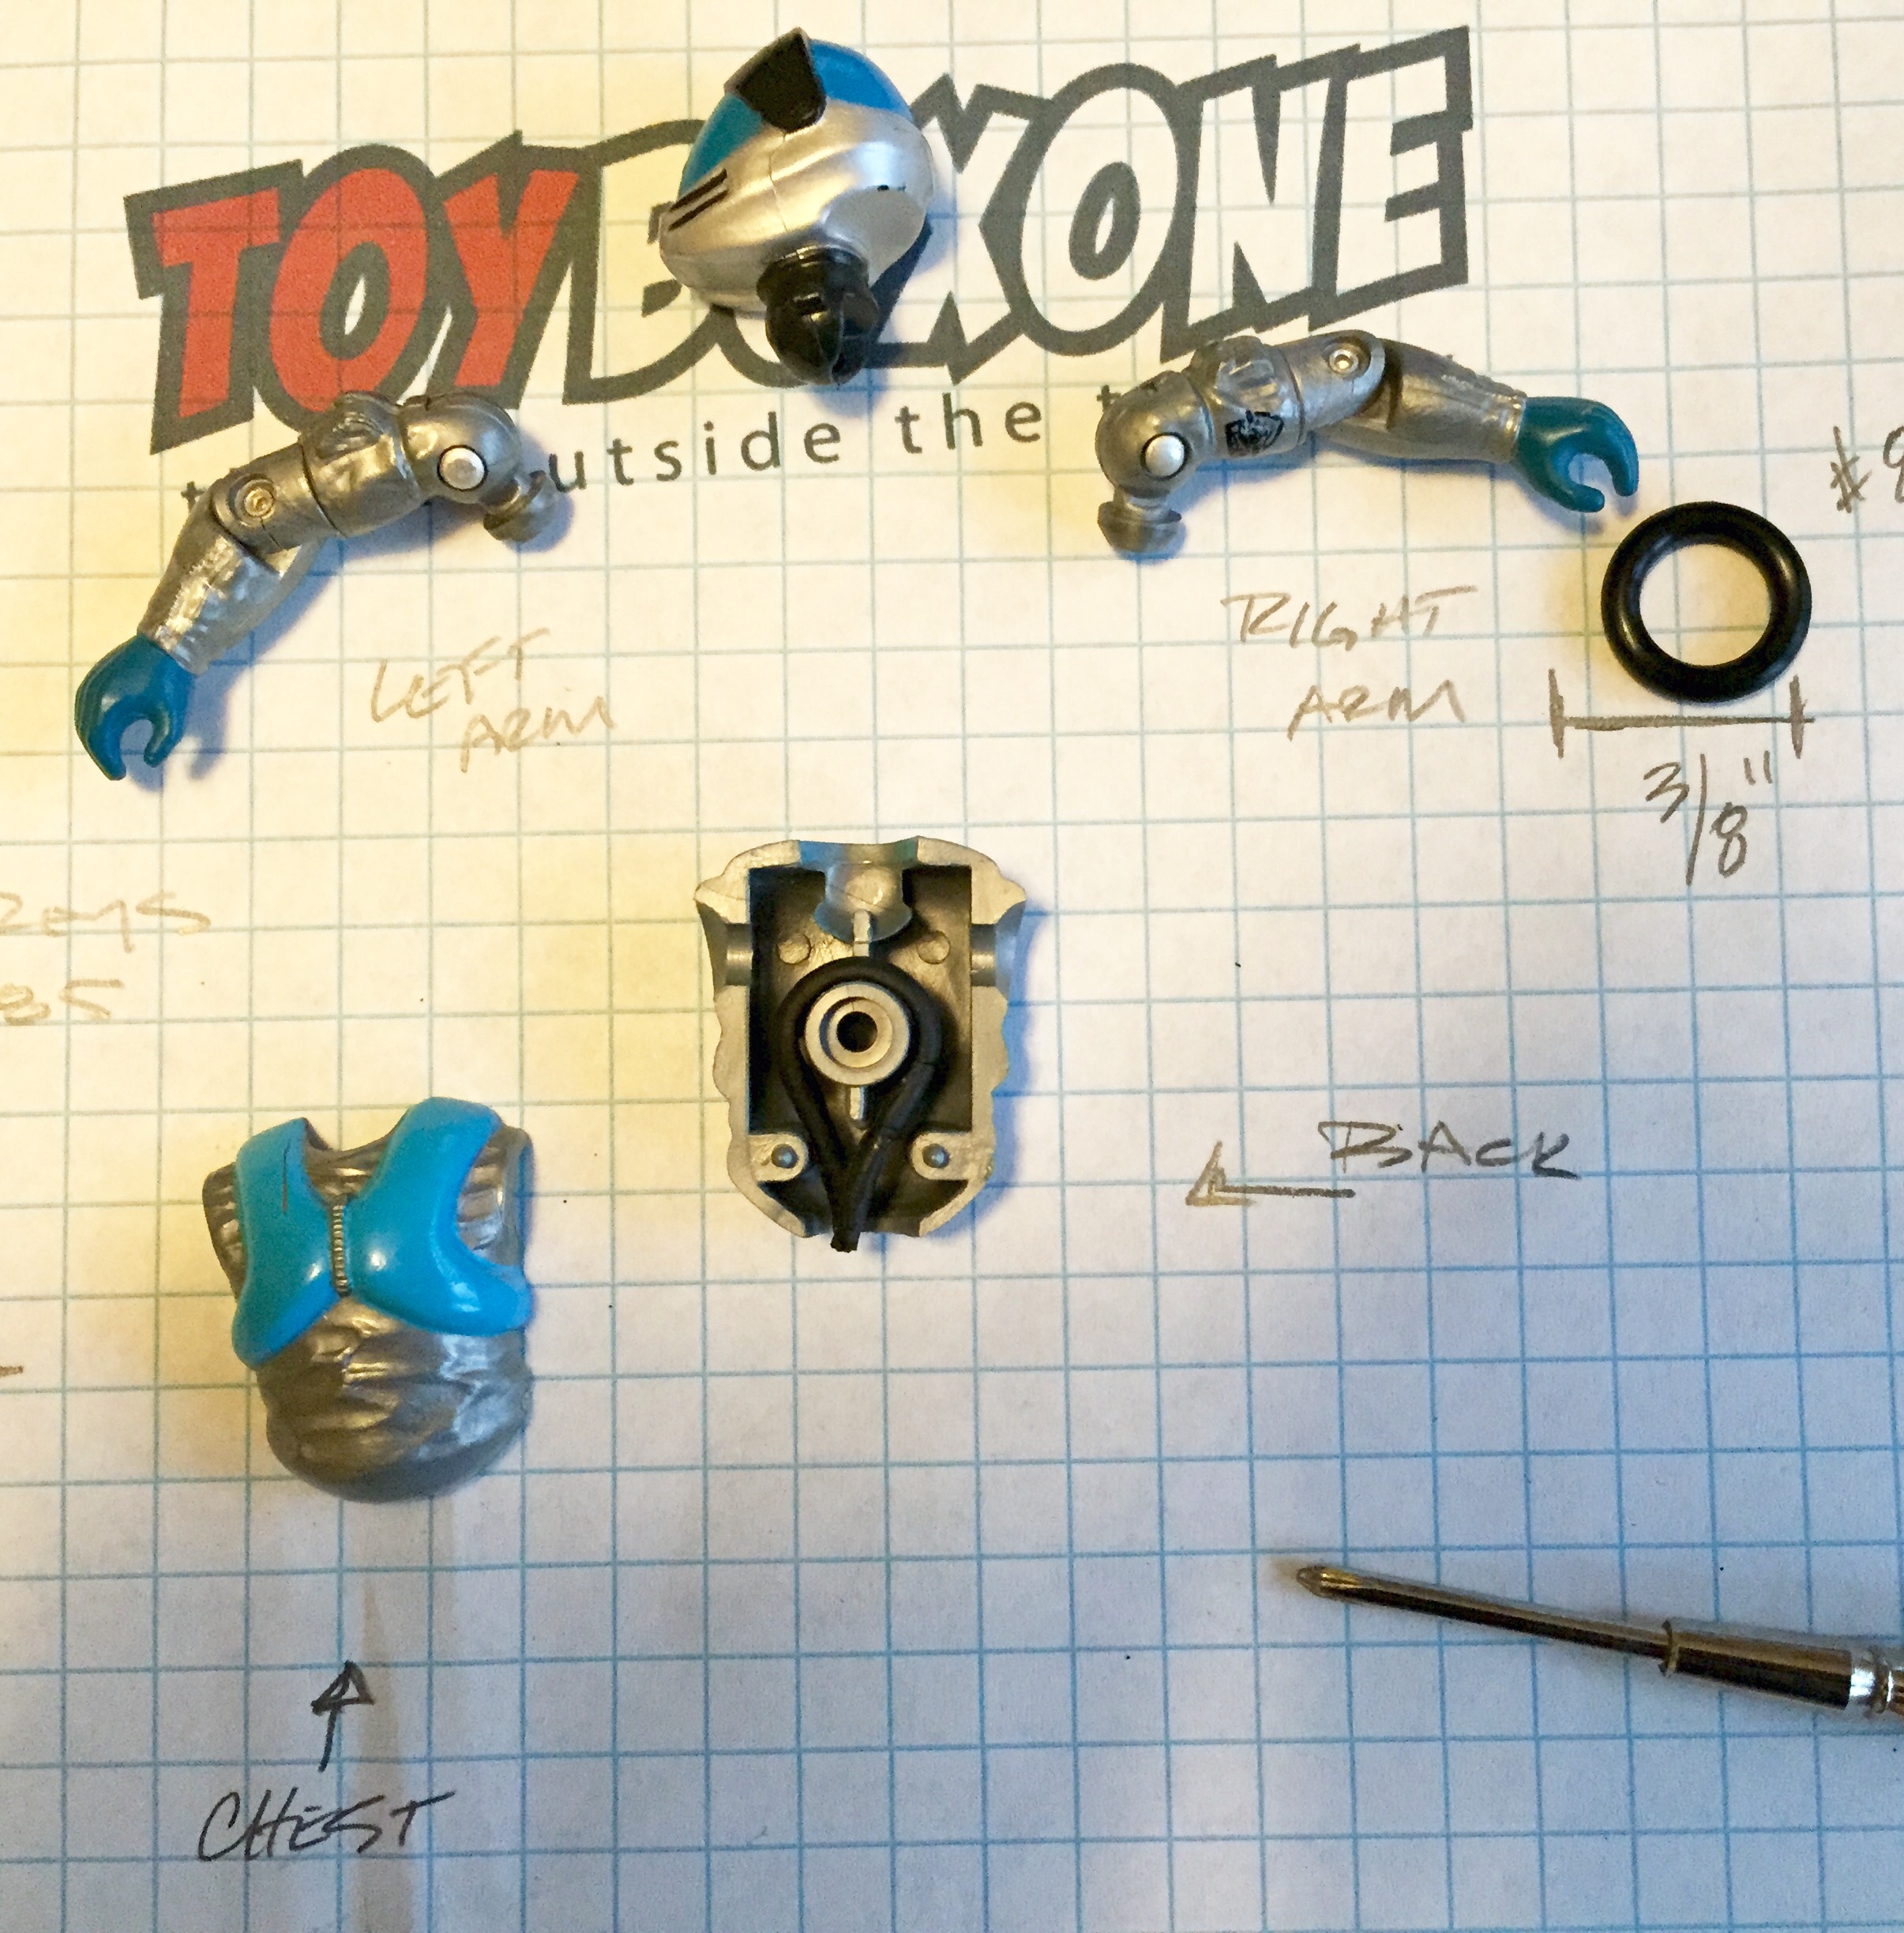
First, loop the new o-ring through the metal piece in the legs and cod piece. Then string it around the back torso and attach arms, head, and chest.
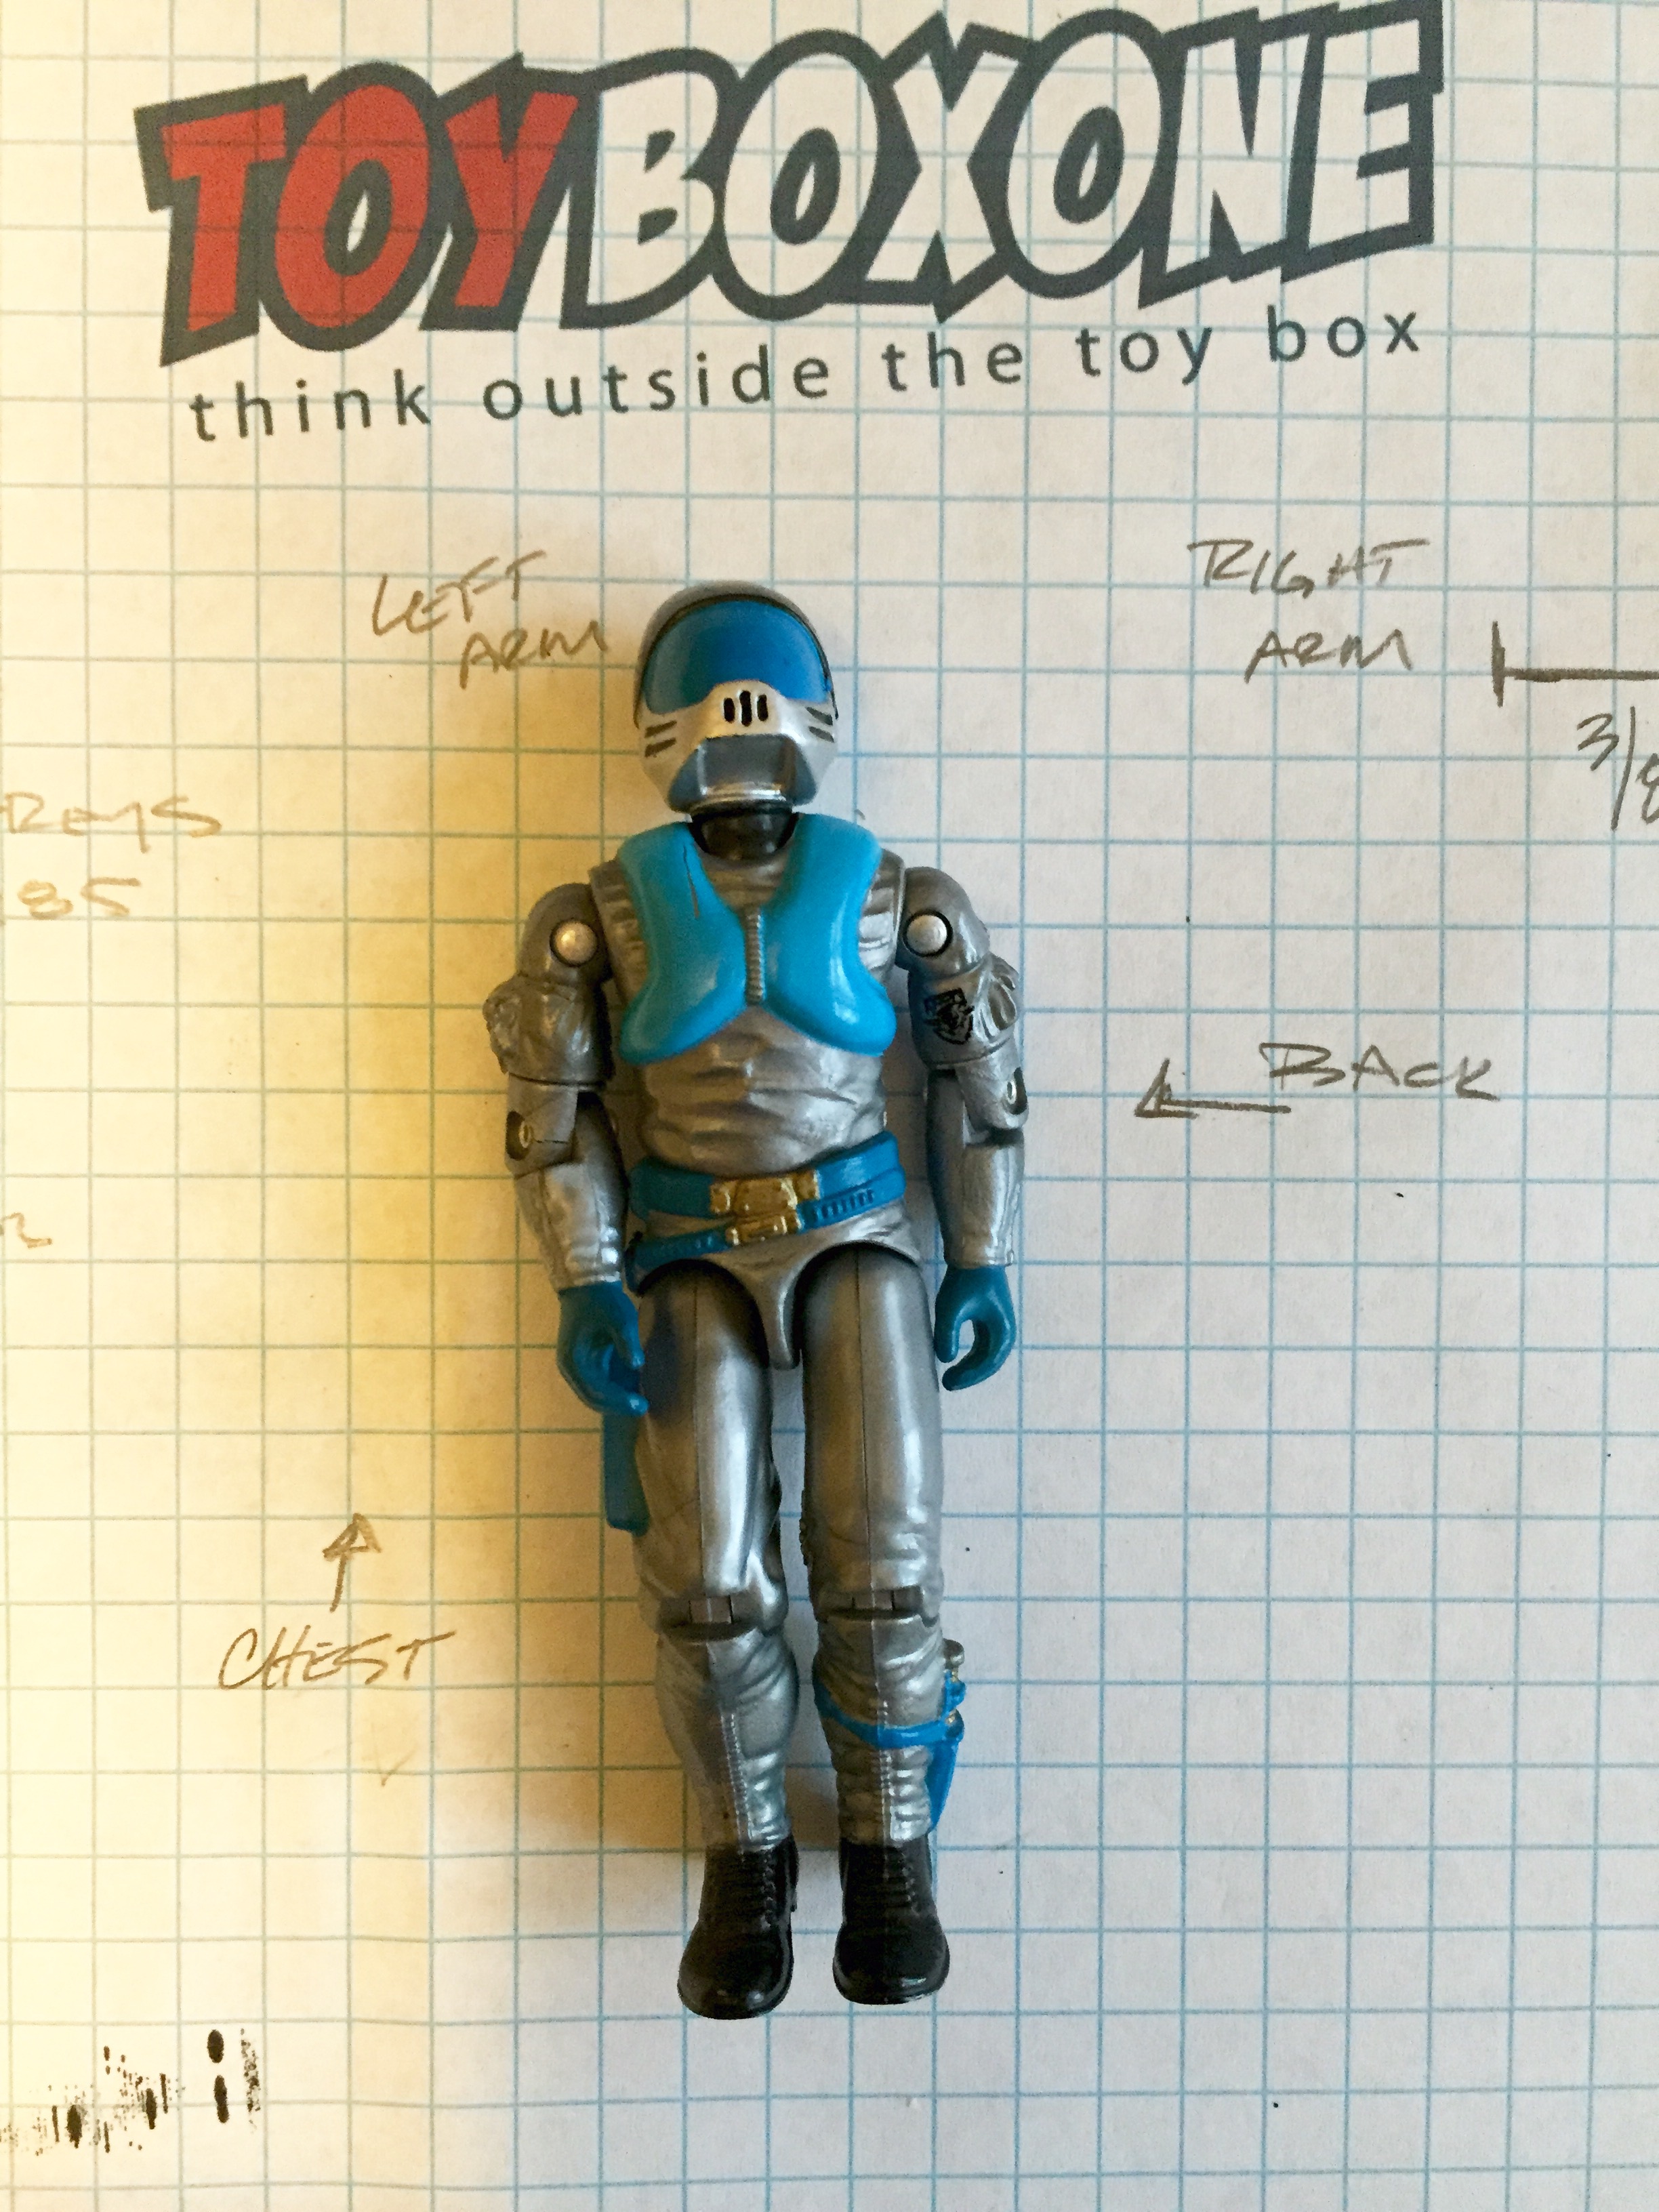
Finally, replace and secure screw. Just like that your figure is as good as new.
Stay tuned, I am learning touch up paint as we speak.
